|
|
We didn't take any before photos which is pretty
unusual for us.
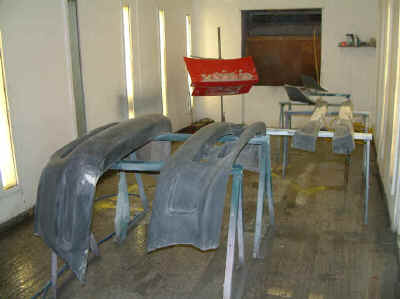
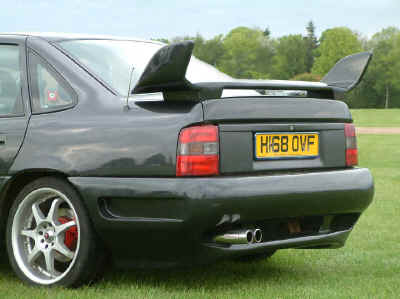
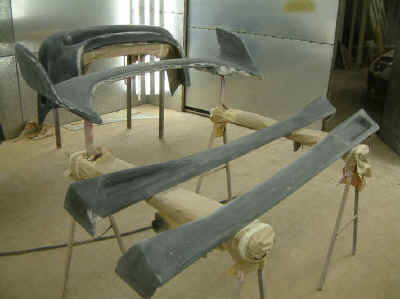
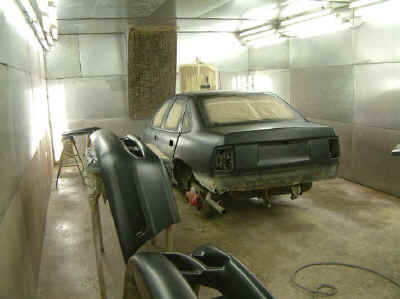
Here you can see the very first Animal kit for the
Mk3 Cavalier in our small booth (we have a total of three). Also you can
see a second hand replacement boot lid in the background.
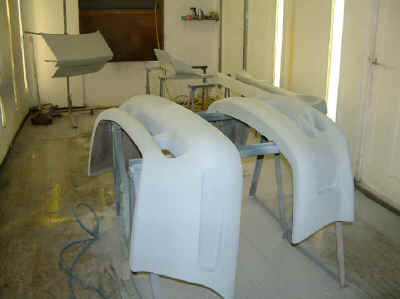
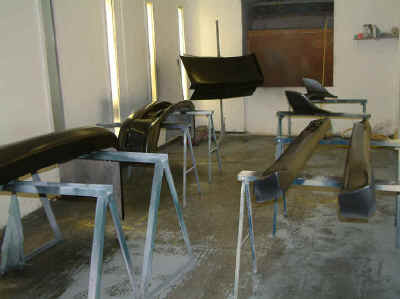
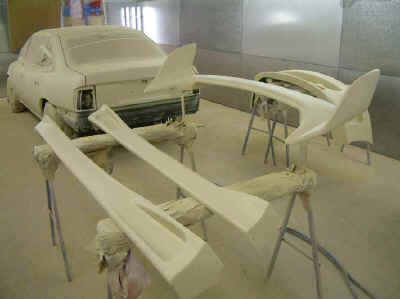
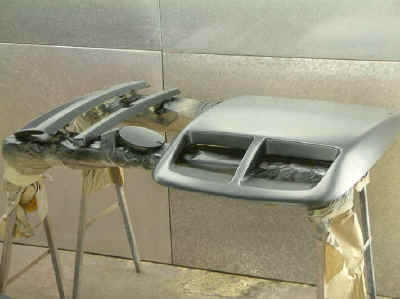
As you can see below the kit is primed and then
painted black. Because the mouldings are very good and the paintwork is
temporary, the kit is primed and then using a process known as
wet-on-wet painted within a few minutes.
This is not something we normally do, because it does
compromise the quality of the job, but it did save time in this
instance.
|
|
|
|
|
 |
 |
|
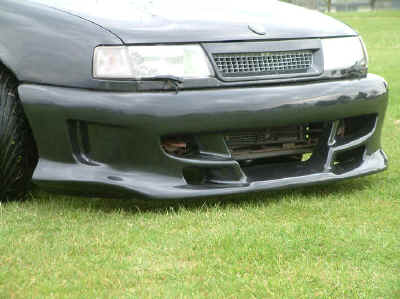 |
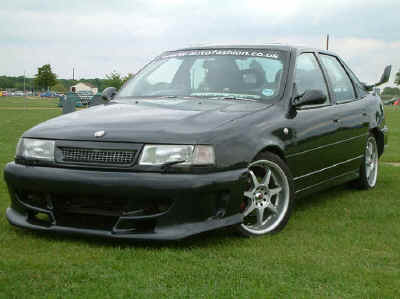
Phase one of the project involves fitting the front
and rear bumper and blade-less spoiler, along with the replacement boot lid.
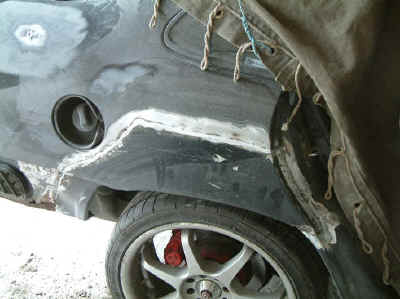
Phase Two of the project involves a complete strip
and paint in blue pearl marble. At this time some minor rust will also
be dealt with along with a pair of rear arches. In the pictures they
don't look all that bad but some bodges by previous owners have left
them with several arches fitted over the top of one another and as usual
they are rusting through already.
The only satisfactory solution is to completely
remove the old metal work and fit just one arch, welding the inner and
outer arch together as required for MOT and for safety. The two have not
been joined for some time now. |
|
 |
 |
|
 |
 |
|
 |
The car actually drives better once this arch work is
complete. We always seam weld these panels at the top because the car
was solid metal here originally. Spot welds always show later - its just
a matter of time (normally 6 months).
Seam welding does create a little more distortion,
which you can see was remedied with filler. It looks a lot on the car
but as you can see it covers solid metal which means it should last 6-10
years easily, and is actually very thin.
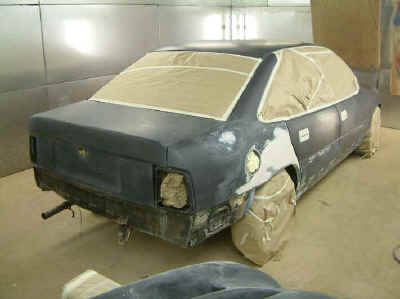
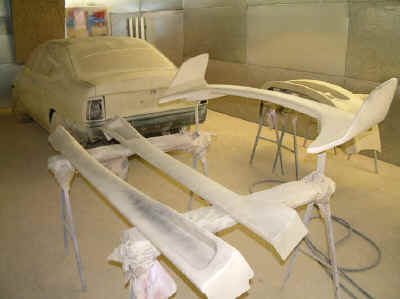
The whole car and all bumpers/spoilers are very
thoroughly sanded (in this case 120 grit), cleaned using special panel
wipes and then treated to 5 litres of best 2 pack primer). |
|
The guide coat of thin black paint you can just see
above is to help in the next stage which is to flat the primer once it
has fully cured. For this we use a 400 grit.
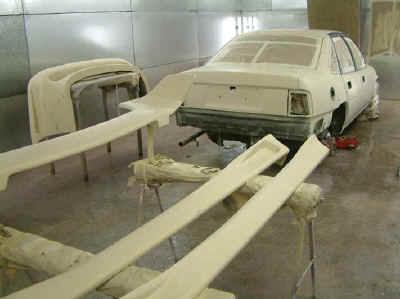
The photo on the left does not appear all that
different but shows the car ready for paint. The primer has been
laboriously sanded and flatted to provide a flat surface for the
paintwork. The car has been remasked, cleaned, and the floor soaked to
reduce dust.
It is interesting to note that the work to date has
taken over a week.
Its time to take a breath because the next stage is
very hard work. It requires three people working as a team and a total
of 18 manhours of painting time. |
 |
|
 |
 |
|
 |
 |
|
 |
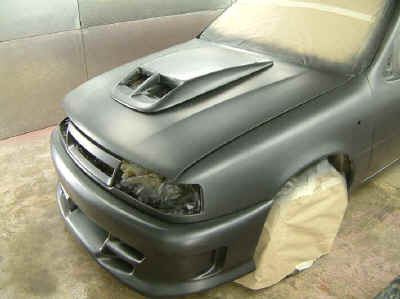
Firstly the car must be painted in what we call the
ground coat. For this car we use a metallic black/grey colour basecoat.
For good coverage all the parts are painted off-car. The colour of a
ground coat varies depending upon the effect required.
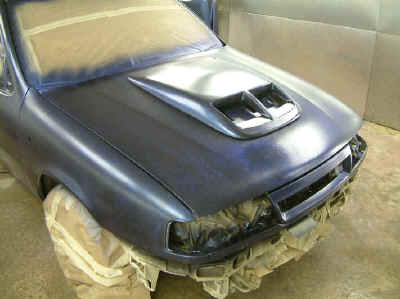
The next stage involves very carefully refitting all
the parts to the car. Basecoat is designed to be coated in clear lacquer
for protection and in this raw state is very easily damaged. Time is
also a serious issue because basecoat should never be left for more then
45 minutes or the following coats will not stick properly, which can
result in peeling!
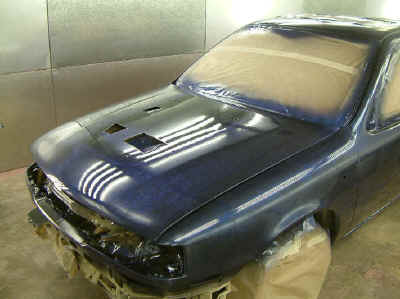
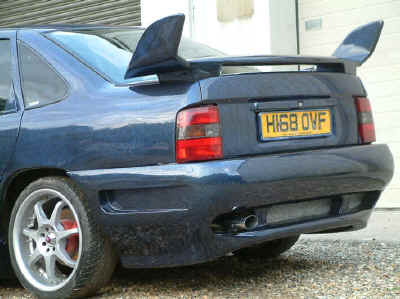
Once refitted the marbiliser is applied. If you look
carefully you can make this out (above). This is a contact and reaction
effect. Meaning that three people must apply the effect. Time is still a
serious issue. |
|
|
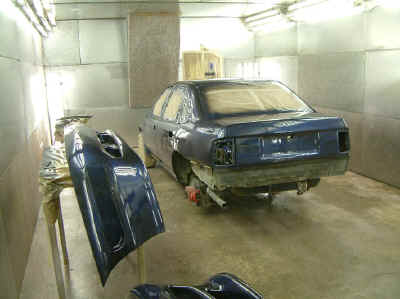
Once the marble is done it must be allowed to dry
before the parts are again very carefully removed, noting the time and
damaged issues explained above.
We apply the marble with all parts on so that the
pattern follows over from one component to another. Painting with the
parts on leads to bridging (paint joins one component to
another), and also to thin spots (where two panels sit too
close for the air containing the paint to flow into).
For this reason both the black ground coat and the
clear coats are applied with the parts off the car.
|
|
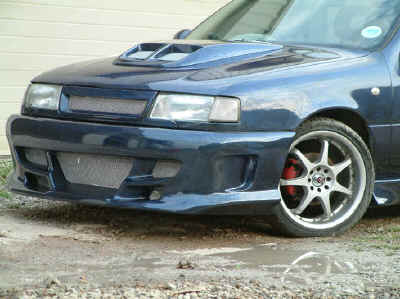
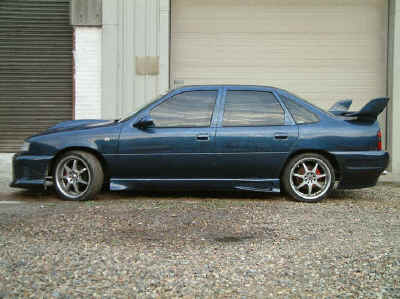
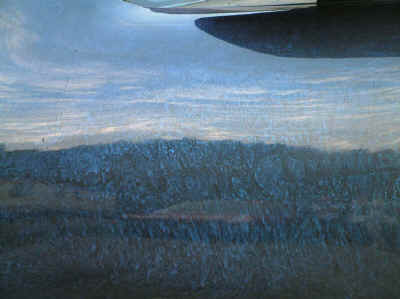
The next complication is that the marble effect is by
its very nature inconsistent in its coverage. It has parts that are thin
(you can see the ground coat) parts that have medium coverage and very
thick parts (you cannot see the ground caot at all). Thus the next
layers of clear paint have to cover an undulating surface. For this we
build the paint up slowly (not too slowly or the next coats won't stick)
and use in total about a gallon of clear. Luckily we have done this many
time now, and the greatest assets we have are experience and good
equipment. |
|
 |
 |
|
 |
 |
|
For more details about the
Animal Kits please view the Animal Pages |